Today, I’m thrilled to share with you my all-time favorite apple pie recipe: Harvest Bliss Apple Pie. As an experienced baker and lover of all things pie-related, this recipe holds a special place in my heart. Let me take you on a mouthwatering journey through the history of this delectable dessert and the wild adventures I’ve had while perfecting it.
Did you know that apple pie has been tantalizing taste buds for centuries? Its roots can be traced back to medieval England, where it was first made using a simple mixture of apples, sugar, and spices wrapped in a sturdy pastry crust.
Thanks to the culinary prowess of English settlers, this iconic dessert made its way to the American colonies, becoming a symbol of homey comfort and the American way of life.
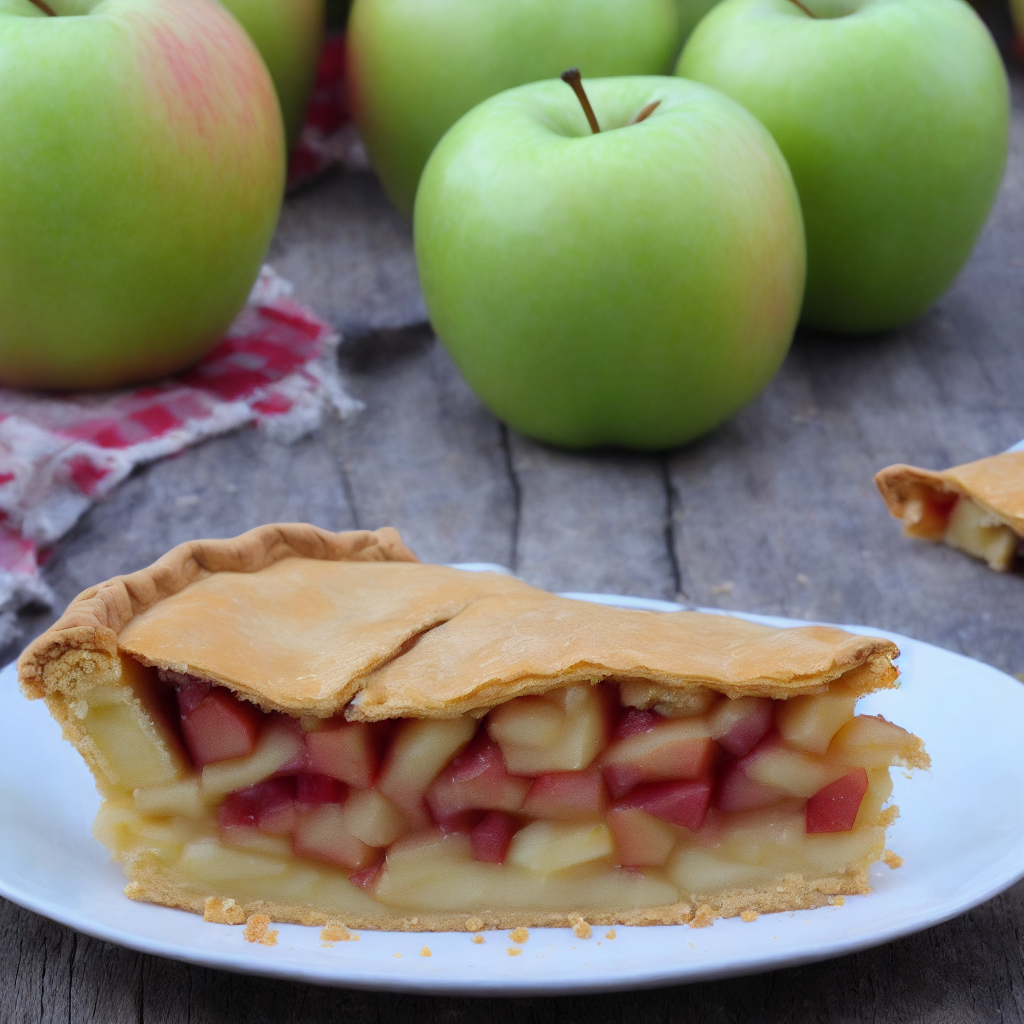
When I first embarked on my quest to create the ultimate apple pie, I found myself knee-deep in a flurry of flour and apple slices. I experimented with different varieties of apples, discovering that a combination of tart Granny Smiths and sweet Honeycrisps yielded the perfect balance of flavors. The addition of warming spices like cinnamon and nutmeg added a touch of coziness, taking the pie to a whole new level of deliciousness.
Now, let me confess something: my early attempts at baking apple pie were… let’s just say interesting. I faced my fair share of soggy bottoms and underwhelming fillings. But fear not! I persevered, armed with determination and a rolling pin. I tinkered with crust recipes, adjusting the ratios of butter to flour until achieving a flaky, golden-brown masterpiece. I also learned the importance of precooking the apples slightly to prevent any unwelcome excess moisture. Failure is just a step on the path to perfection, my friends!
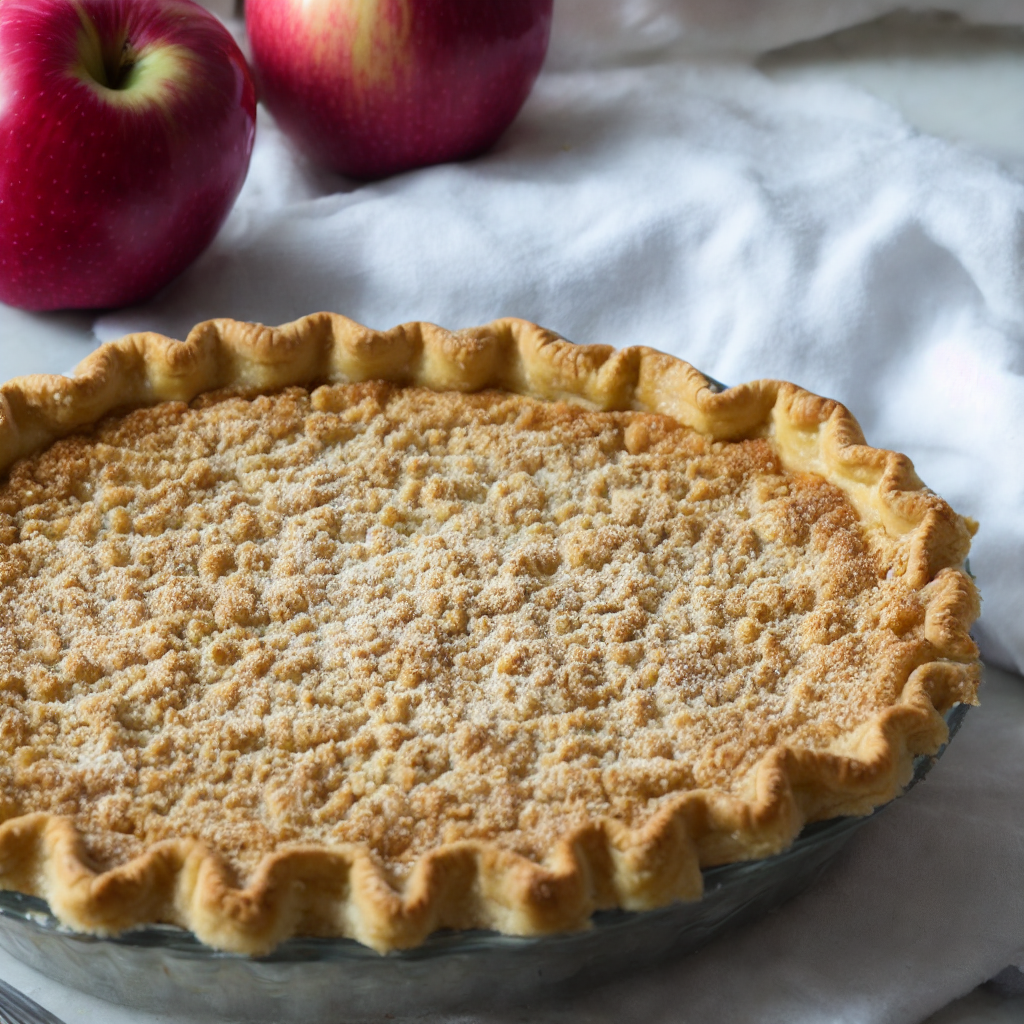
Picture this: a cozy autumn evening, the intoxicating scent of cinnamon and apples filling the air. Gathered around the table, my family and I would eagerly await the moment when the Harvest Bliss Apple Pie emerged from the oven. The golden crust, glistening with a sugary glaze, beckoned us to dig in. Each forkful transported us to a world of sweet nostalgia, reminding us of cherished moments spent together.
So, my culinary comrades, I present to you Harvest Bliss Apple Pie – a true labor of love. The crisp, buttery crust cradles a symphony of flavors, the apples tender yet delightfully firm, and the spices dancing on your taste buds. Prepare to be dazzled by the captivating aroma and the pure joy of sharing this slice of heaven with your loved ones.
Now it’s your turn to embrace the joy of baking and indulge in this glorious Harvest Bliss Apple Pie. Your taste buds will thank you, and your friends and family will applaud your culinary prowess. So tie on your apron, grab that rolling pin, and let’s embark on this unforgettable pie-making adventure together!
Remember, my friends, life is short, but pie is eternal. Enjoy every moment, every bite, and savor the simple pleasures that warm our hearts and fill our bellies.
Bon appétit, pie lovers!
The Ingredients
For the Crust:
- 2 ½ cups all-purpose flour
- 1 teaspoon salt
- 1 cup unsalted butter, cold and cubed
- 6-8 tablespoons ice water
For the Filling:
- 6 cups apples (tart varieties like Granny Smith or sweet varieties like Honeycrisp), peeled, cored, and thinly sliced
- ½ cup granulated sugar
- ¼ cup brown sugar
- ¼ cup all-purpose flour
- 1 teaspoon ground cinnamon
- ½ teaspoon ground nutmeg
- 1 tablespoon lemon juice
- 2 tablespoons unsalted butter, cold and cubed
The Directions
- Preheat the oven to 375°F (190°C). This recipe is designed to serve 4 hungry pie lovers, but don’t worry, you can easily double it to feed a bigger crowd or halve it for a cozy night in with just two.
- In a large mixing bowl, whisk together the all-purpose flour and salt for the crust. Add the cold, cubed butter, and using a pastry cutter or your fingertips, cut the butter into the flour until the mixture resembles coarse crumbs.
- Gradually add the ice water, 1 tablespoon at a time, while gently stirring the mixture with a fork. Continue adding water until the dough starts to come together. Be careful not to overmix. You want the dough to be moist enough to hold its shape but not too wet.
- Divide the dough in half, forming two discs. Wrap each disc in plastic wrap and refrigerate for at least 30 minutes to allow the dough to chill and become more manageable.
- While the dough is chilling, prepare the filling. In a separate bowl, combine the sliced apples, granulated sugar, brown sugar, all-purpose flour, ground cinnamon, ground nutmeg, and lemon juice. Toss the ingredients together until the apples are evenly coated.
- Take one disc of dough out of the refrigerator and place it on a lightly floured surface. Roll it out into a circle large enough to fit your pie dish. Carefully transfer the rolled-out dough into the pie dish, gently pressing it into the bottom and sides.
- Pour the apple filling into the prepared crust, spreading it out evenly. Dot the top of the filling with the cold, cubed butter, distributing it throughout.
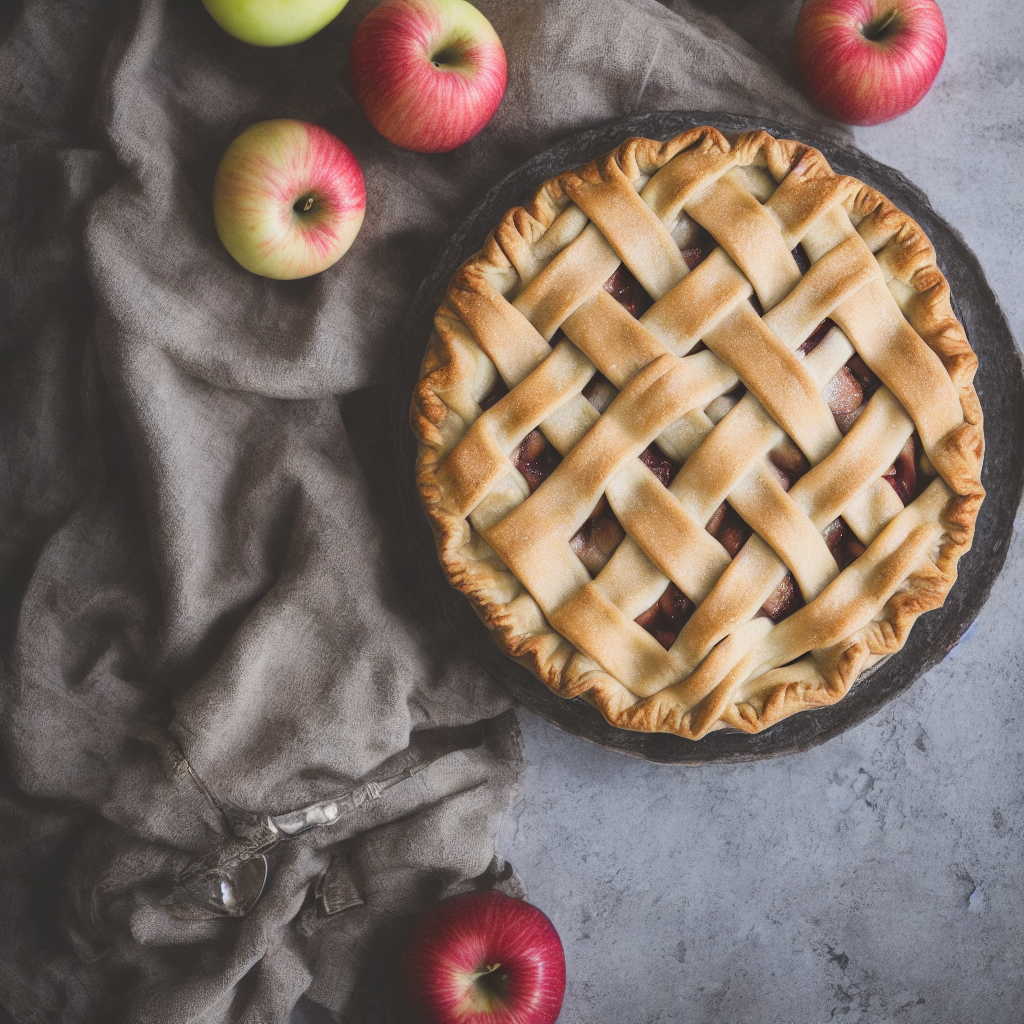
- Roll out the second disc of dough into another circle. You can leave it whole to create a traditional double-crust pie, or use cookie cutters to cut out shapes for a decorative lattice or design. Place the rolled-out dough on top of the apple filling.
- Trim the excess dough hanging over the edges and crimp the edges to seal the pie. You can get creative with your crimping pattern or simply press the tines of a fork around the edges for a classic look.
- Place the pie in the preheated oven and bake for 45-55 minutes, or until the crust is golden brown and the filling is bubbly. Keep an eye on the pie as it bakes, and if the edges start to brown too quickly, cover them with aluminum foil.
- Once the pie is done, remove it from the oven and let it cool on a wire rack for at least 1 hour. This will allow the filling to set and the flavors to meld together. The anticipation might be tough, but trust me, it’s worth the wait!
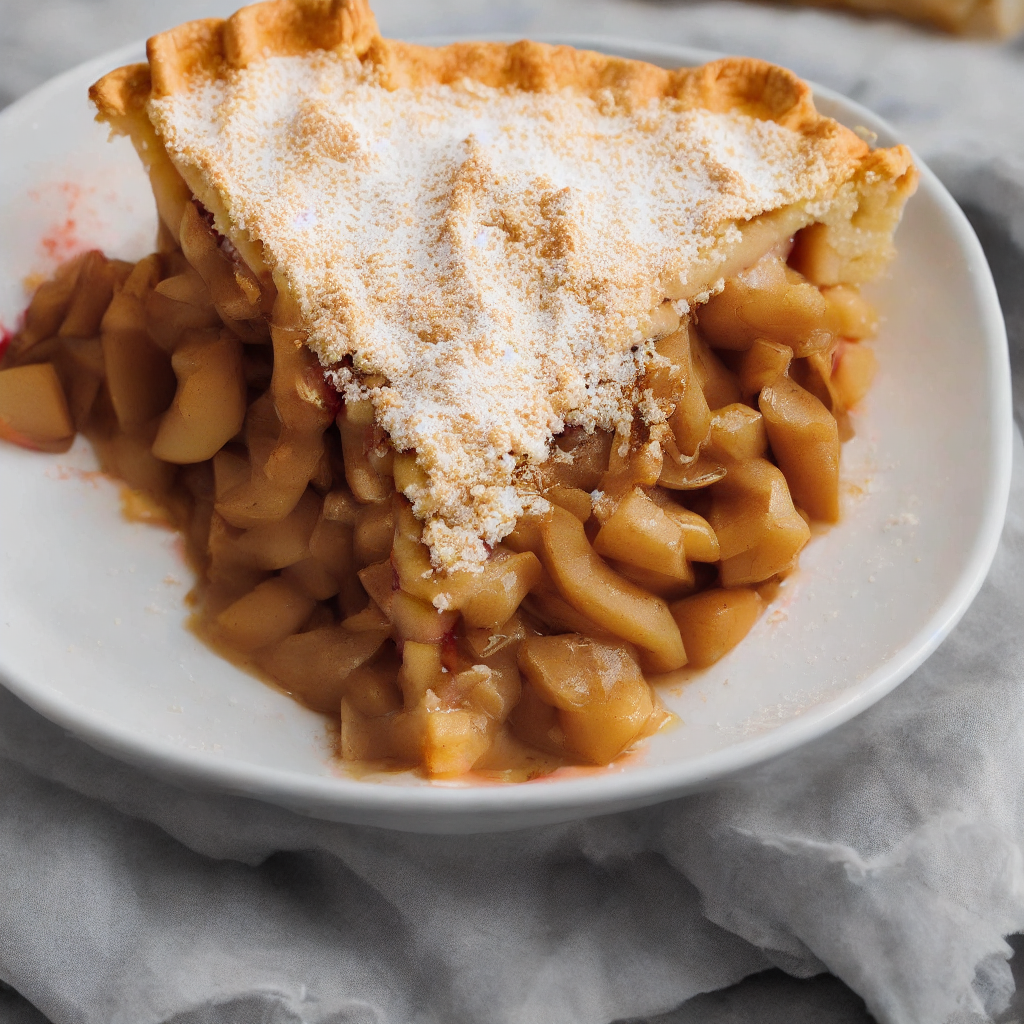
- Finally, slice the Harvest Bliss Apple Pie into generous portions for your hungry crew of 4. Serve it warm with a scoop of vanilla ice cream or a dollop of freshly whipped cream. Enjoy the delightful flavors, the comforting textures, and the sweet memories made around the table.
Congratulations, you’ve mastered the art of creating a homemade Harvest Bliss Apple Pie!